7月中頃にメールクライアントPCのOSが不良(不調かな)となり,またメールが読めなくなってしまった(実はこの1年半で3度目)
拙者はセキュリティのためメール読み込み用PCを単独で置いてあるのだが,ここのところ何故か良く壊れる
で,ようやく復旧できた訳だが・・・これはタイトルにあるメールサーバ構築を実施するトリガーである
本題はここから
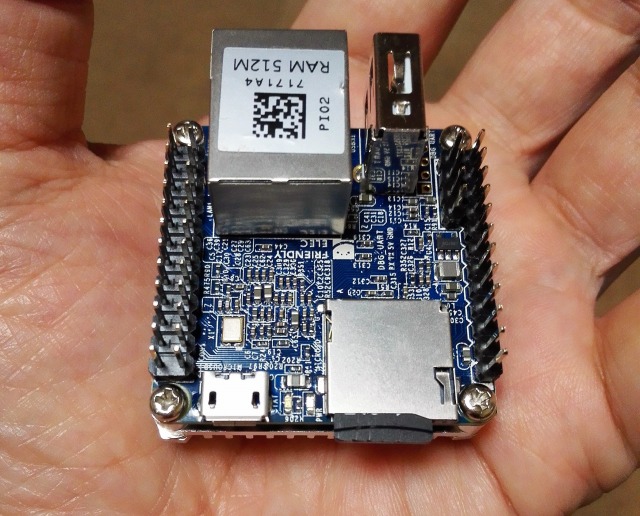
今年の暑さは凄まじく玄箱の設置している部屋の温度も放出した熱で上昇ぎみなので空冷での冷却は無理と判断し玄箱を諦めることに
玄箱ではメールサーバを運用していたのでこれを移行しなければならない
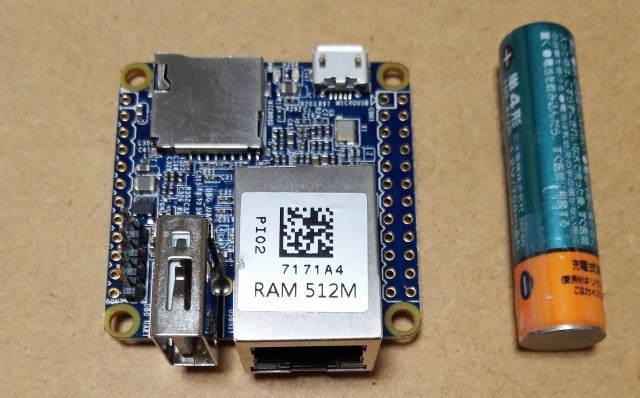
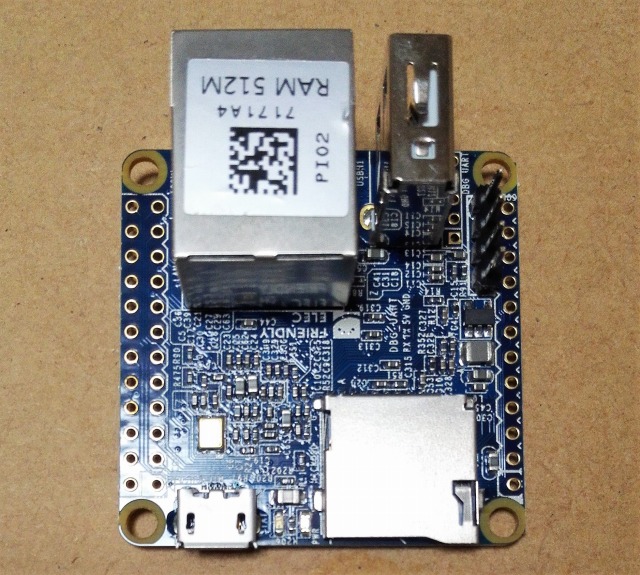
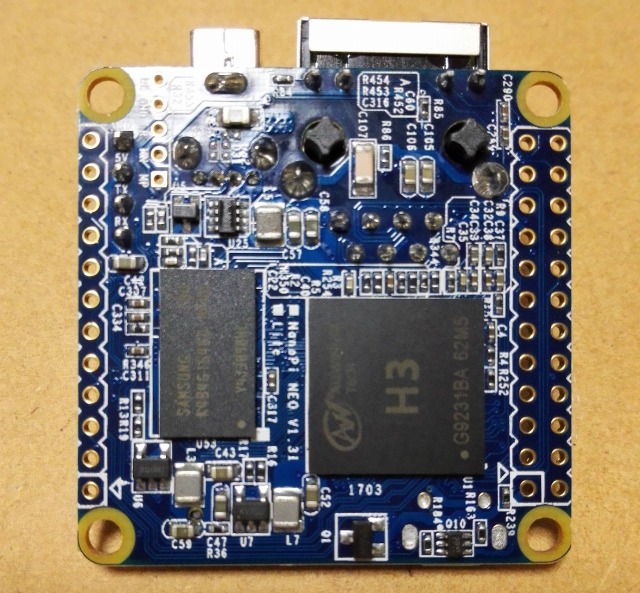
そこでまず試験的に既存サーバにメールサーバを置いて最終的には熱放出の少ないメールサーバに移行することにした
玄箱でのメールサーバは「postfix」と「popa3d」で運用,今回は「exim4」と「dovecot」を使ってみる
参考サイトもあるが,いろいろ嵌ったので記録しておこうと思う(ただしセキュリティの問題があるので非公開部分もある)
尚,当初は簡単に終わるはずだったのだが・・・随分と時間を費やしてしまう
exim4の設定方法
参考サイト1,参考サイト2で問題ないが,参考サイト3(英語)が一番良い
前提としてプロバイダ配下のSMTPサーバはOP25対策のためプロバイダのSMTPをリレーしなければならない
①これを踏まえて以下のコマンドでexim4の設定を行う
# dpkg-reconfigure exim4-config
/etc/exim4/update-exim4.conf.conf が作成される(以下参考)
# /etc/exim4/update-exim4.conf.conf
#
# Edit this file and /etc/mailname by hand and execute update-exim4.conf
# yourself or use 'dpkg-reconfigure exim4-config'
#
# Please note that this is _not_ a dpkg-conffile and that automatic changes
# to this file might happen. The code handling this will honor your local
# changes, so this is usually fine, but will break local schemes that mess
# around with multiple versions of the file.
#
# update-exim4.conf uses this file to determine variable values to generate
# exim configuration macros for the configuration file.
#
# Most settings found in here do have corresponding questions in the
# Debconf configuration, but not all of them.
#
# This is a Debian specific file

dc_eximconfig_configtype='smarthost'
dc_other_hostnames='mail.inoshita.jp; inoshita.jp'
dc_local_interfaces=''
dc_readhost=''
dc_relay_domains=''
dc_minimaldns='false'
dc_relay_nets=''
dc_smarthost='xxxx.xxxx.xxx::587'    # ::(コロン2個)ポート番号
CFILEMODE='644'
dc_use_split_config='false'
dc_hide_mailname='false'
dc_mailname_in_oh='true'
dc_localdelivery='mail_spool'
直接編集しても良いが反映させるには
# update-exim4.conf
を実行すること
②/etc/exim4/passwd.clientの編集
プロバイダのSMTPサーバに接続するためのIDとパスワートを書き込む(プレーンテキスト)
# password file used when the local exim is authenticating to a remote
# host as a client.
#
# see exim4_passwd_client(5) for more documentation
#
# Example:
### target.mail.server.example:login:password
smtp.xxx.ne.jp:hoge:hoge-hoge        #プロバイダのSMTP:認証ユーザID:認証パスワード
③/etc/email-addressesの編集
送信元メールアドレスがプロバイダに登録認証されているメールアドレスでないと蹴られるのでメールを送信するUIDに対応した書き換えリストを作成する
# This is /etc/email-addresses. It is part of the exim package
#
# This file contains email addresses to use for outgoing mail. Any local
# part not in here will be qualified by the system domain as normal.
#
# It should contain lines of the form:
#
#user: someone@isp.com
#otheruser: someoneelse@anotherisp.com
user1: hoge@xxxx.xxxx.ne.jp
user1@localhost: hoge@xxxx.xxxx.ne.jp
user2: hoge@xxxx.xxxx.ne.jp
結果,送信元メールアドレスはすべて同じになる
これをミスると接続できない旨のログが出て苦しむ(拙者はtelnetで接続確認したがログインできず嵌った)
④/etc/exim4/passwdの編集
MUAから接続するためのIDとパスワートで,/etc/shadow からコピーするか exim-adduser で追加する
形式:
user:password:comment
/etc/shadow からコピーすると3フィールド以上あるが最初の3つしか利用してないので問題なし
送信元メールアドレスがすべて同じになるのが問題なのでSMTPサーバをプロバイダからMyDNSのメールリレーサービスを利用させていただくことにしたが今度は認証しようとするのを外せず断念して「postfix」を使うことに変更(exim4 は色々できるが調整部分が多く面倒すぎる)
postfixの設定
これはここかこちらを参考にすれば問題なし
「postfix」の設定はログの扱いを考えるだけで他は問題なし
(追記)
ローカルのMUAからSMTP経由でメールする場合は以下の編集が必要
/etc/postfix/master.cf の編集
submission inet n       -       -       -       -       smtpd
#  -o syslog_name=postfix/submission
#  -o smtpd_tls_security_level=encrypt
  -o smtpd_sasl_auth_enable=yes
  -o smtpd_client_restrictions=permit_sasl_authenticated,reject
  -o milter_macro_daemon_name=ORIGINATING
/etc/postfix/main.cf の追加編集(「Relay access denied」となる)
mynetworks = 127.0.0.0/8, [メール送信元IP]/32
doveconfの設定
上記の「postfix」の参考サイトにある
pop で悩むのは,mboxの扱いでsmtpソフトとの兼ね合いもあるのだが,最近はディレクトリ展開が当たり前なのか
imap も使うなら ディレクトリ展開 の方が良いけどユーザHOMEディレクトリを作成しないといけないので無駄(popだけならいらない)
なので
mail_location = INBOX=/var/mail/%u
だけにしたのだけど動作不良に陥る(既にimapの環境になってしまっている?)
仕方ないので
mail_location = mbox:~/.mbox:INBOX=/var/mail/%u
として各ユーザのHOMEを作成
メール受信時
pop3(user01): Error: file_dotlock_create(/var/mail/user01) failed: Permission denied
(euid=1001(user01) egid=100(users) missing +w perm: /var/mail, we're not in group 8(mail),
 dir owned by 0:8 mode=0775) (set mail_privileged_group=mail)
というエラーが出て、受信したメールが/var/spool/mail/から消えない,/etc/dovecot/conf.d/10-mail.confに
mail_privileged_group = mail
を追加で解決


